Jenkins Freestyle Project
#90DaysOfDevOps
#Day23
What is CI/CD ?
CI/CD is a process, often visualized as a pipeline, that involves adding a high degree of ongoing automation and continuous monitoring to app development.
CI (continuous integration)
CI is a process where team members integrate their work continuously in a shared repository mainly achieved using some SCM tools like GIT.
CD (continuous delivery/deployment)
Continuous delivery :
After the CI process, Deploy on a Prod-like env and run automation tests to ensure the build is ready for release is CD . The main aim here is to ensure the build is always in a Deployable state.
Continuous Deployment:
It refers to automatically releasing a developer’s changes from the repository to production, where it is usable by customers.

Freestyle VS Pipeline
While standard Jenkins “freestyle” jobs support simple continuous integration by allowing you to define sequential tasks in an application lifecycle, they do not create a persistent record of execution, enable one script to address all the steps in a complex workflow or confer the other advantages of pipelines.
In contrast to freestyle jobs, pipelines enable you to define the whole application lifecycle. Pipeline functionality helps Jenkins to support continuous delivery (CD).
Let's create some freestyle Project
first, we will create an agent as it is preferred to run jobs on an agent, not on the controller itself.
To create an agent you can read the below-mentioned article
URL:https://hashnode.com/draft/645885117eadfa000fcf421d
- To see your agent's Dashboard >Manage Jenkins >Nodes

- Now go to Dashboard > new item

- Enter the name of your project, and then click on Freestyle project > OK
Description: Add your file Description
- Click on GitHub project and add the Url of the Project
URL:https://github.com/SUJATA14016/node-todo-cicd.git
Select Restrict where this project can be run and select the agent you want

In the Source Code Management section Select Git and then add the above-mentioned URL. Since we are using a Public Repo so there is no need to add any Credentials**.**
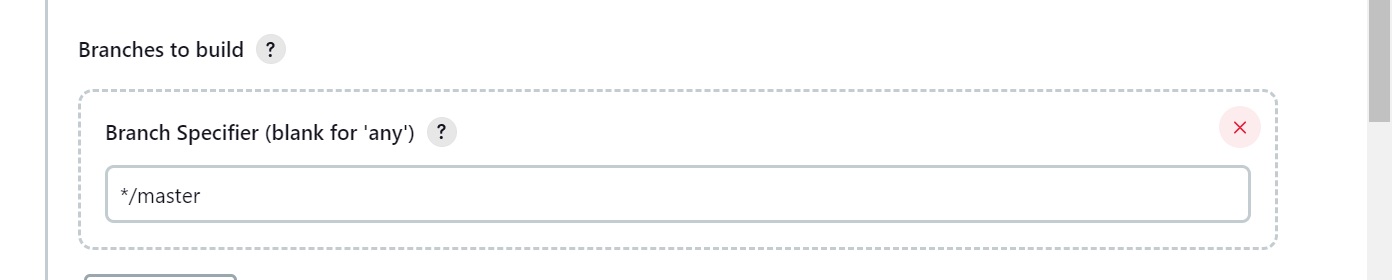
On the Branches to build section enter the branch you want to clone from. For this Project enter Master branch.
In the build steps section Click on add build step >Execute shell
Inside the shell enter the command
        echo "Project is clonned"
        docker build . -t to_do
        docker run -d  -p 8000:8000 to_do
        echo "Project Build "
Click Save
Now Click on Build Now and your freestyle project is ready
In Chrome enter http://agent-ip:8000 and you can see your project running
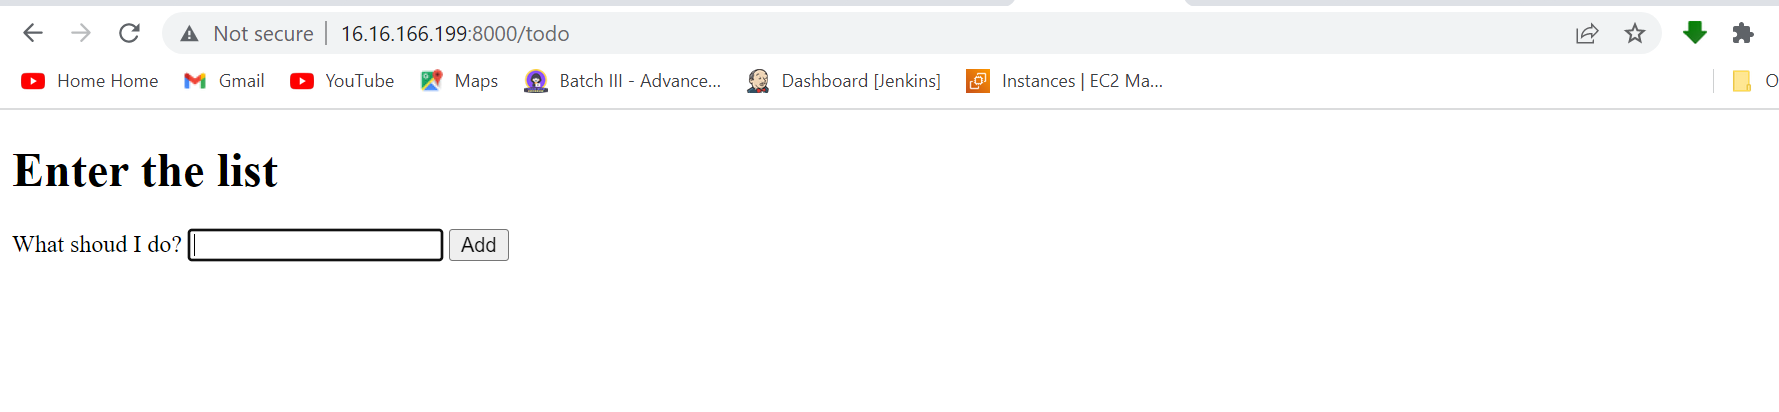
In case your page is not loading make sure your port 8000 is opened.
Problem with Dockerfile
Here if you again try to build the project you will get error saying that the port is allocated as the container is already running because of the previous build.So its much convenient to use docker-compose .

Thank you for reading!!